Thursday, August 25, 2016

THE SIMPLE ART OF MAKING FRESH PASTA


I once thought making fresh pasta was what a short, pleasingly-plump Mama Rosa did in the mountains of rural Italy. 

I recently learned that isn't true. It's a simple, fun process. And DELICIOUS! Oh, my word, the difference in taste is amazing. Fresh pasta is delicate and rich, far removed from its dry cousin in a box.


My sister-in-law, June Willis, (more 'sister' than 'in-law') came to New Orleans this week with her friend, Tiya House.  I told her I planned on making fresh pasta, and she wanted to learn how to do it. 

So, we had a little lesson when they arrived.

The ingredients are deceptively simple (and inexpensive).
 For one batch, which serves 6-8, ,I use 3 to 3 1/2 cups all-purpose flour, 
4 large eggs at room temp and 1 teaspoon kosher salt.
S
 Mix the flour and salt on a hard surface. I use
my counter top. 
 Make a well in the middle with your fingers.
 Pour the eggs (room-temp) into the center of the flour.
Using a fork, whip the eggs and begin to incorporate
 the flour from the inside of the well working out.
This beautiful lady is Tiya House. She and her husband are 
missionaries to her native country, Malawi, South Africa.
She is stirring the eggs into the flour.
 Once the mixture gets thick,  set aside the fork and
 go in with your hands.You'll want to form the dough into a ball
incorporating the extra flour. If it feels too dry, add one or two teaspoons
of flour. When it's just right, it will feel like a shaggy mess. :) 
Tiya's helping me again. Start to knead the ball. You know it's
 right when it doesn't stick to the hard surface. If it's too wet and
 sticks, add a bit more flour. Knead for about 8-9 minutes to
 develop the gluten, using the palms of your hands as above.
You will feel the ball becoming silky and smooth.
 Cut the dough into two pieces and wrap in plastic 
wrap. Let it rest for twenty minutes or so.
 Once it has rested, press the dough flat with your hands. 
You can roll it out with a rolling pin to the desired thickness, 
or you can use a pasta roller (which is much easier and quicker.)
I bought my first one on Amazon for less than $20 to see if I liked the process.
I indeed loved it and upgraded to this one for about $60. It's an Atlas, from 
Italy. It has the flat roller, plus a fettuccine and angel hair cutter. 
 Back to the pasta. Insert the flattened dough into the
widest setting of the pasta roller, #0. 
Fold the flattened dough into thirds and run it back
through the roller three times. This, again, is to 
develop the gluten.
Move the dial to #1 and roll the dough through the pasta roller.
Continue to increase the increments on the roller and run the 
pasta through until you get it to the desired thickness. It will
become thinner and longer with each dial upward.
Once you have it the desired thickness, you can use
knife and cut it into lasagna noodles, or run it through the  other side
of the cutter for angel hair or fettuccine. Above is the latter. 

For the most delicate pastas, like angel hair,you will want to make it quite thin. 
For lasagna, I stop at #6 on my pasta roller, or about 1/16th" thick if you're rolling by hand. 

An interesting thing about authentic, Italian pasta is that it is much thinner than the dried pasta we find at the grocery store. They would never dream of using those fat slabs of pasta. The typical American lasagna has three layers of pasta. The Italian version may very well have 6-8 very thin layers. 


Making fresh pasta puts you in supreme control, not to mention, it costs pennies on the dollar of the purchased version. Literally.


The first time I made fresh pasta, Mical was watching his beloved Texas Rangers. He gasped after he sat down to eat, and I thought either they had made a great play or flubbed it. The he said, "That's delicious."

Made my night.

Have you tried making fresh pasta? I'd love to hear your story. Were you as surprised as I was at how quick and delicious it was?


Thursday, August 11, 2016

THE ABSOLUTE BEST ROAST CHICKEN EVER!


My daughter Amy is an avid fitness expert and also a great cook. Her conversation is peppered with words like good fats, metabolize, gluten and the like. I just let her talk and hope she doesn't notice when I butter my bread. Anyway, she's always up for a good roast chicken and asked me to share this one.

Over the years, I've cooked a lot of chicken. It' a staple of life, right? I've stuffed, brined, fried, grilled, smoked, steamed-well, you get the idea, with a wide range of mixed results, from pretty good to straight-to-the-stock-pot.

I recently came across Chef John's Salted Roast Chicken recipe. If you haven't seen any of his videos, you should. He is delightful to watch and a fabulous chef.

This is, by far, the best roast chicken recipe I have ever tried, and perhaps the easiest.

Best and Easiest don't usually go in the same sentence, but this is the exception.

It is deceptively simple. Really. For the chicken, all you need is kosher salt. Thant's it! 

Imagine enjoying this beautiful dish on a weeknight, with only 20 minutes active work time. The oven does the rest.


The secret is the high cooking temp. You will roast the chicken at 450 degrees for about 50 minutes depending on the size. The high heat and kosher salt lock the juices in and makes the skin dry and crispy. 

Roasted on this high temp, it will ALWAYS be juicy and the skin will be crisp. Guaranteed.

(Well, that's assuming you don't over cook it, but I'm sure you wont.)

Interested? Let's get to work. 

Start with a chicken and kosher salt.
My grocery recently had a sale on chickens. 39 cents a pound. 
I wasn't sure if you'd believe it or not, so I took a pic of the label.
I bought 18. If we didn't have chicken once a week before the sale,
we do now.
 Dry the skin thoroughly with paper towels. This helps 
the skin to brown.
Tie the legs together with butcher's twine and tuck the wings
 under.Tying the legs keeps them closer to the body and they 
won't dry out as bad. Sprinkle about 3 T of Kosher salt all 
over the chicken, including the cavity. It will be more than 
you think you need, but trust me this time. A word of warning, 
do this on your cutting board. You don't want extra salt on 
the bottom of your pan, since we're going to make a pan sauce.
That's all the prep. Now, pop it in a 450 degree oven for about
50 minutes until it reaches 165 degrees internal temp.
I use an enameled cast iron pan so I can make the pan sauce
over the top burners. 
This isn't in Chef John's recipe, but I always throw roast 
vegetables with my chicken. It's a complete meal and since the 
oven's on anyway, I might as well use it. I use whatever vegetables 
I have on hand. In the winter, I sometimes add turnips and other 
root vegetables. 
Chop the veggies, toss with salt, pepper and a little 
olive oil. I love a sprinkle of Herbs de Provence. It's 
a mixture of herbs from the south of France. As it cooks, 
it gives off an amazing, earthy aroma. Now, put them
in the oven with the chicken.
 While the chicken is cooking, gather the ingredients
for a quick pan sauce. You will need a handful of fresh thyme, one lemon,
2 T of butter and 1/3 cup of chicken broth.
 Remove the thyme stems and discard. You should
have about 1-2 T of leaves. I'm sure you could use 
dried thyme if you don't have fresh. Just reduce the amount
by 1/2 to 2/3.
 Once the chicken is done, remove it to a platter
and tent foil over it. Put the pan over a burner and scrape up
browned bits. 
 Pour the chicken broth and lemon juice in and reduce by half. 
Since I had to juice the lemon, I slice it very thinly and add it to
the sauce. It's pretty and delicious.
 Once the sauce is reduced, remove it from heat and add 
2 T of butter cut into small chunks, and whisk. 
The sauce will thicken slightly. Check for seasonings. 
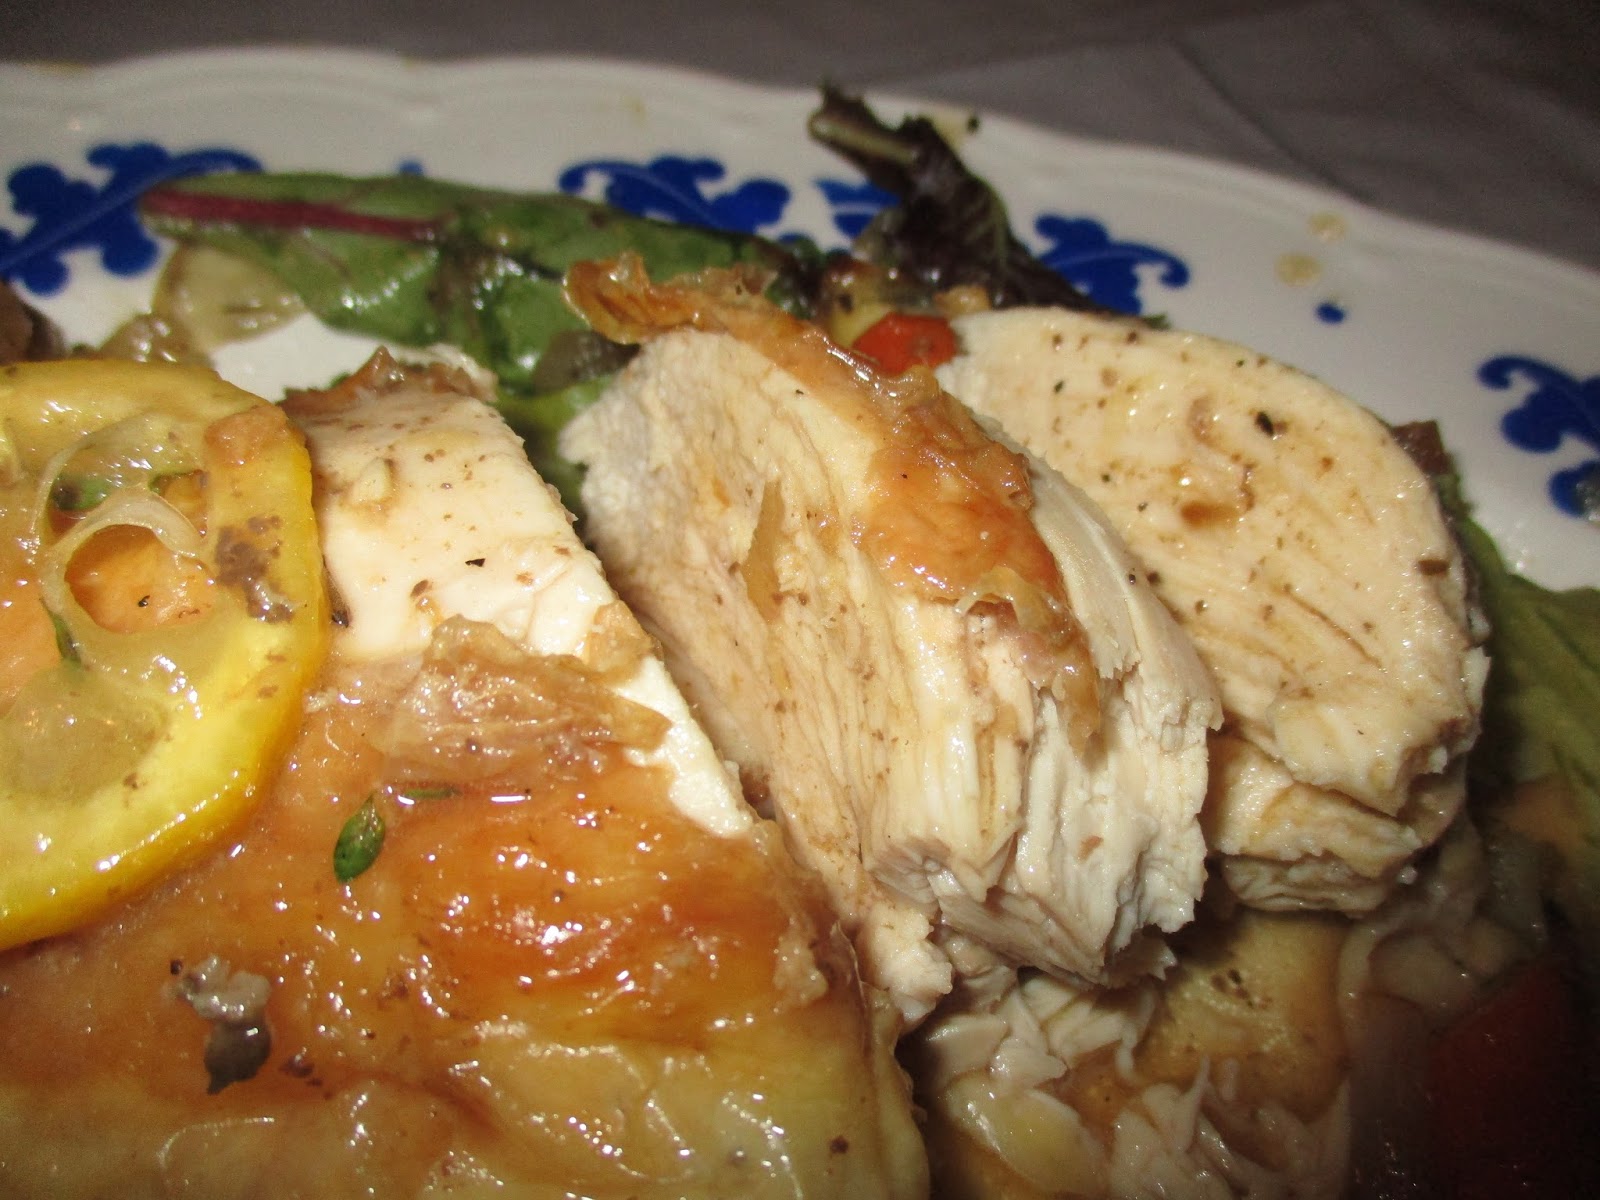
 Arrange the chicken on a platter surrounded by the vegetables
and pour that amazing thyme-butter sauce over the top. 
(I hope Amy notices it's only 2 T of butter for the whole dish.)


JUICY, DELICIOUS, AMAZING!

Saturday, July 30, 2016

A Delcious Quick and Easy Summer Supper- Crispy Chicken Thighs with a Blueberry Salad


 Crispy sauteed chicken thighs with a delicious blueberry salad-

The perfect meal for a hot  summer day.


I'm so glad that chicken thighs have finally come into vogue. The best restaurants in New Orleans now feature the lowly chicken thigh on their prestigious menus. In my opinion, the dark meat has so much more flavor. This quick and easy recipe is so refreshing and ready in less than thirty minutes.

 This is an adaptation of a Michael Symon's recipe from his fabulous cookbook, 5 in 5.  To reduce cooking time, you can remove the bone and pound the thigh to make it thinner. It will reduce the cooking time, but you will sacrifice flavor in the process. 


Ingredients

4 bone-in, skin-in chicken thighs 
2 T olive oil
1- 6 ounce pkg fresh blueberries
4 cups arugula
1 cup thinly sliced red onions
1/2 cup fresh basil leaves
Balsamic Vinaigrette (I use Emeril's recipe or you can use a purchased one.)
2 T crumbled blue cheese (optional)
Kosher Salt
Freshly-ground pepper


Dry the chicken thighs with paper towels, in order to crisp the skin.
Sprinkle generously with kosher salt and fresh-ground pepper.
Add olive oil to a heavy skillet until medium-hot. (I prefer cast ion.)
Place the chicken, skin side down in the skillet and sear until the
skin is crispy, about 4 minutes.
Flip the chicken and sear on the other side for about 3 minutes.
Slip the skillet into a 375 degree oven for about 6-7 minutes.
 While the chicken finishes in the oven, slice the onion and
add arugula and torn basil to a bowl.

 Remove the chicken thighs from the oven and check the temperature. in the
thickest part (being careful the thermometer doesn't touch the bone).
It should be 165-170 degrees.

Notice that crispy skin with only 2 T of oil for the whole meal.


Toss the salad lightly with the vinaigrette. Salt and pepper 
to taste and sprinkle blue cheese on top.

Enjoy! 

Thursday, July 21, 2016

GRANDMOTHER HILL'S CHICKEN AND DUMPLINGS

My mother-in-law, Louise Hill, made the absolute best chicken and dumplings in the world! She made a pot for almost every family gathering.

Like a lot of older folks, she didn't use a recipe--just add a little of this and a dab of that.

She was visiting my daughter, Amy Ramsey, one day. Amy talked her into making a pot, then followed behind her carefully measuring everything she added.


In relaying her recipe, I hope I've done her justice. This is one of our family's most treasured recipes, if not THE most treasured one.

Start with a baking or stewing hen. The flavor is much better than a young chicken.
The secret to great dumplings is a well-seasoned stock. Rough cut a few
stalks of celery, 2 or 3 large carrots, a head of garlic and an onion. Add
all to a stock pot along with the hen and a generous amount of salt and pepper,
two bay leaves, garlic salt and a touch of cayenne.

Once the water comes to a rumbling boil, cut the heat down to a slow
simmer and allow to cook until the hen is tender, about 3-4 hours.


Once the hen is tender, take out of the water and set aside to cool.


Time for the DUMPLINGS!
It really doesn't get much simpler than this. You will need:
3-3 1/2 cups self-rising flour
2 T Crisco
1 cup hot water
I know that most recipes call for very cold water. I've tried it both
ways, but the hot water makes a silkier dough.

Turn out onto a floured surface. I use my countertop. Knead for
2 or 3 minutes until the dough is smooth.
Using a floured rolling pin, roll out the dough to about
1/8" thick. You don't have to worry about trying to make it too pretty.
 
With a knife, cut the dough into small squares, about 1-1/2 " each.
 
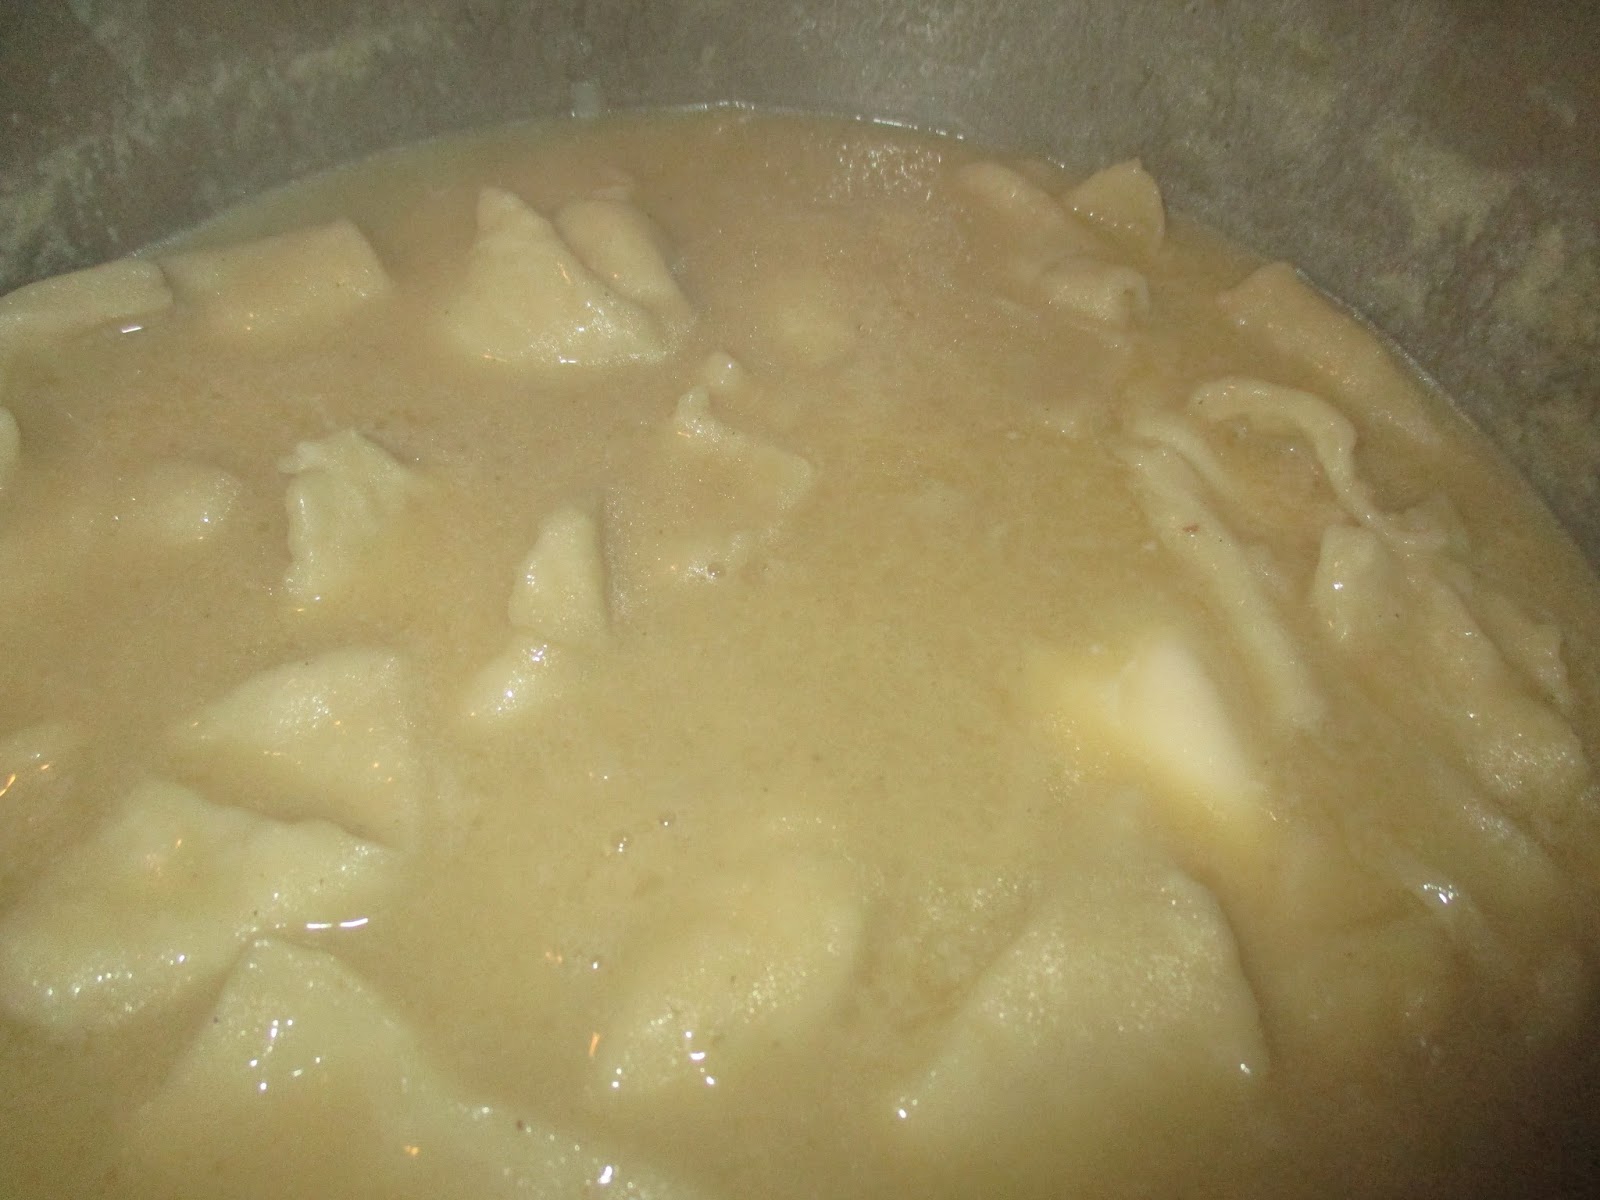
Drop one by one into boiling chicken stock. Shake the pot
gently as you add the dumplings. When they are all added, cook
about 3-4 minutes and then take off the heat. The extra flour
on the dumplings will thicken the stock.
 
To the pot add 1 can cream of mushroom soup, 1 stick of butter
and a 1/2 cup of milk. (I use heavy whipping cream.)
My mother-in-law is the only one I've ever known that did this
last step. Chop up and add two boiled eggs to the top.
The eggs make a wonderful garnish, but also, the flavor with
the dumplings is delicious!


I would love to hear about your family's treasured recipes. As mothers and grandmothers, it is our responsibility to keep our beloved traditions of food alive.

Wednesday, July 6, 2016

'Pure Delicous'--A Must-Have Read for Anyone with Food Allergies

My favorite foods of all times were fried oysters and crabmeat in any dish. One night, fifteen minutes after eating some fried oysters, my head began to throb--really bad.

For the first time, I had a terrible migraine. 


I didn't put it together, until the next time I had a crabmeat dish, and the same thing happened. This time, I landed in the emergency room. From nowhere, I had a serious shellfish allergy.

Heather Christo, he author of 'Pure Delicious', had a similar thing experience with one of her children.


As a trained chef, she attacked the most common allergies straight on. She addresses the eight most common allergens, including shellfish, gluten and lactose and explains how they affect your body.

She doesn't stop there though. She shares over 150 recipes that are completely allergen-free.  For anyone that struggles with allergens, 'Pure Delicious' is a must-have.